- Click the cogwheel icon on the View results page.
- You land on a Filters tab. Choose what filters you need for this View.
- Go to the Columns tab.
- Select or deselect chosen columns.
- Edit the detailed display settings of specific columns.
- Inline Editing – toggle this slider on if you want to allow editing the metadata values of this column inline. To edit the values, find the file or folder you want to edit metadata for on the list. Click the value you want to edit and change it. You can edit dates, text, numbers, and select values from drop-down lists (both single- and multi-select).
- Formatting - Plain Text or Pill. When you choose a pill, you can also choose the pill color for each option.
Filter and column names depend on the fields specified in the metadata template your Box Admin created.
Saving a view
Once you are done with the view configuration, click the Save button. Choose between Save or Save as New view. If you choose the latter, a dialog Create a new view, based on current settings appears, where you need to provide a name for your new view. You can also check the metadata template your view uses. Click Create to add the new view to your Box App.Editing the view
Click the ellipsis button to Delete or Rename view. The name change of the view is reflected on the View block on your Box App immediately. If you choose to Delete view, you need to confirm it in the dialog with the following information appears: Are you sure you want to delete this view? This view will be deleted and all the settings will be lost. To delete the view, check the box I acknowledge this action cannot be undone and click Delete. Click the cogwheel icon to edit the display settings of the view.Text wrapping
You can adjust the column width and number of lines visible in your view. Locate the slider with + and - symbols to increase or decrease the number of lines in the columns. The text is wrapped in the field when you increase it. Drag the border of a column in the header row of your view to show more of less contents of the field.Duplicating the view
Click the Duplicate icon if you want to have a copy of your current view. Add the View Name in the text input field and duplicate your view.Searching your app
You can search the Box App content and filter the results. See Search for Files, Folders, and Content for details.Metadata search in View filters in Box Apps supports partial match.
Prerequisites
To use Box AI in your View search, you need to first enable Box AI for files in the admin console. For more information, see Configuring Box AI. Type your query into the search box and use the Filter option for Box AI to narrow the results that match your prompt. The Search option allows you to perform a plain text keyword search.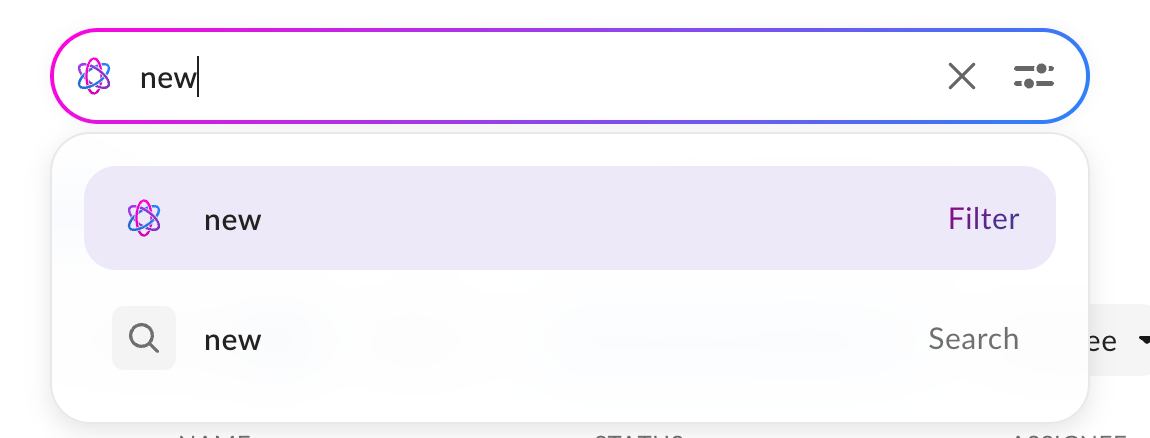
Example
You create a Box App that contains all the contracts with your partners and customers that need to be reviewed. Each contract has a start date assigned and a status: new, under review, approved, rejected.You want to display all rejected contracts that are starting next quarter. You type “rejected contracts starting next quarter” in the search window. Box AI analyzes your content and filters it to show you only the contracts with rejected status.
You can also search the whole contents of the Box App with the AI Search. In order to do so, use the search bar at the top of the App.
You can use Box AI in views. Hover over the file name and click the Box AI icon in quick actions for a single file query, or select up to 10 files and click the Box AI button in the toolbar. For more information, see Box AI for Documents.