

This article is about Box Shuttle in the Admin Console. If you’re using legacy Box Shuttle, a standalone tool, see legacy migration guides.
- Authenticate source systems before you create any jobs, so one person can handle authentication while other admins create and run the migration jobs.
- Review which jobs use each source system.
- Clean up the Jobs Dashboard by deleting jobs for a source system after its migration is complete.
Open the Source Systems page
To open the Source Systems page:- In the Admin Console, go to Content > Shuttle.
- Select Source Systems.
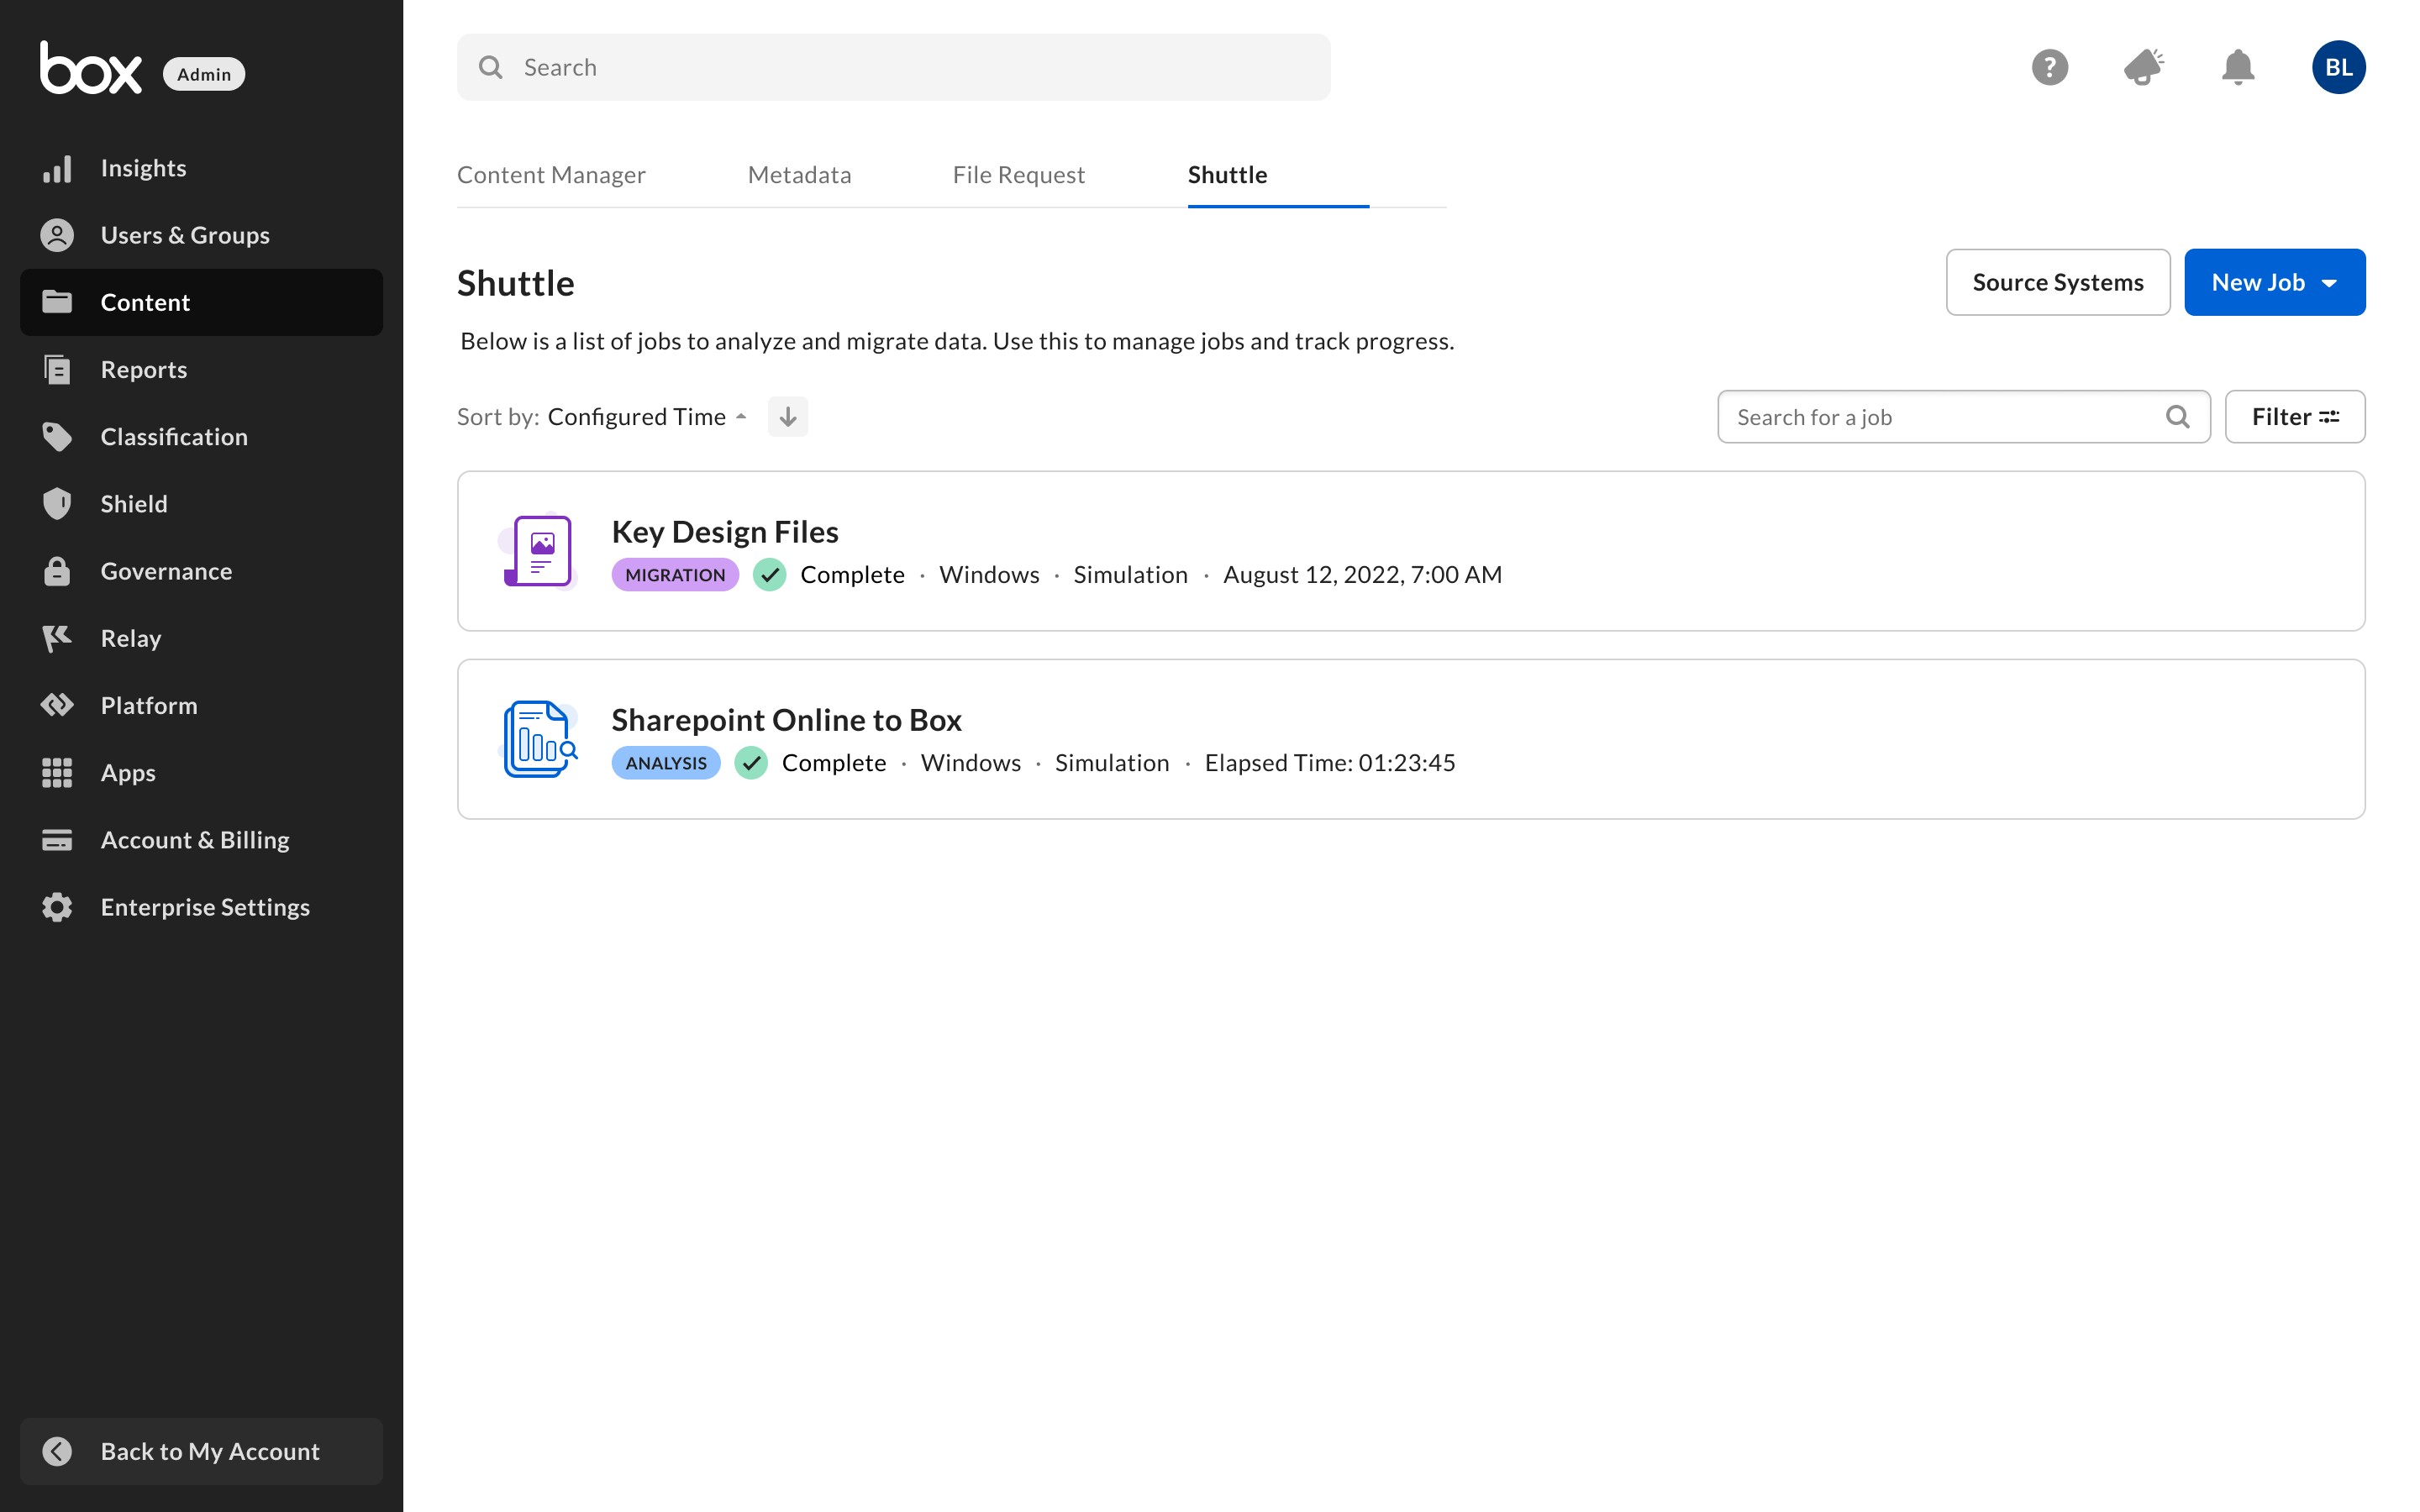
View source systems
The Source Systems page lists all source systems configured for your enterprise, including Windows Agents. Each row displays:- Name: The name of the source system, such as the Windows Agent name or the account used to authenticate a cloud source.
- Type: The source system type, such as Windows, Dropbox, or Google Drive.
- Last Authenticated: The date and time the source system was last authenticated, if available.
- Jobs: The number of jobs that use the source system.
- Status: The current status of the source system, such as Authenticated or Pending. For a description of each status, see Source system authorization status.
View jobs that use a source system
To view the jobs that use a source system, select the job count in the Jobs column for that source system. The page then displays only the jobs that use the selected source system. Each job displays in the same format as on the Jobs Dashboard, so you can expand a job to view its details and use the job options menu. For details, see Jobs Dashboard. When you finish migrating content from a source system, you can remove its jobs from the Jobs Dashboard. In the job list for that source system, open the job options menu for each job you no longer need, and then select Delete Job.Manage a source system
To manage a source system, hover over its row on the Source Systems page and select one of the following icons:- Edit (pencil icon): Update the source system configuration.
- Delegate (arrow icon): Share a login link with someone else so that they can authenticate the source system for you.
- Delete (trash icon): Remove the source system.
Delegate authentication
If someone else holds the administrator credentials for a source system, you can send them a login link instead of authenticating the source system yourself.- On the Source Systems page, hover over the source system row and select Delegate.
- In the dialog box, select Copy next to the login link.
- Select Save.
- Share the copied link with the person who has the administrator credentials for the source system.
Connect a new source system
To connect a new source system:- On the Source Systems page, select Connect Source. The Source Systems dialog box opens.
- To narrow the list of source types, select On-Premise or Cloud. To view all source types, select All.
- Select the source type you want to connect, and then select Next.
- Complete the authentication steps for the selected source type:
- Cloud sources: For most cloud sources, sign in with an administrator account. For the steps for each source type, see Source systems.
- Windows: Enter an agent name, and then download and install the Windows Agent. For details, see Connect a Windows source system.
Connect a Windows source system
To migrate content from a Windows server, install the Box Shuttle Windows Agent on that server.If you already installed the Windows Agent and registered your computer, skip steps 3 and 4.
- In the Source Systems dialog box, select Windows, and then select Next.
- In the Agent Name box, enter a name for the agent.
- Download the Windows Agent:
- To install the agent on the computer you’re using, select Windows Agent.
- To install the agent on a different computer, copy the download link in the dialog box and open it on that computer.
- Install the Windows Agent and register the computer. For details, see Box Shuttle Windows Agent.
- Select Next.