

This article is about Box Shuttle in the Admin Console. If you’re using legacy Box Shuttle, a standalone tool, see legacy migration guides.
Overview
Use a spreadsheet to map your source data to target data, or source collaborators to target collaborators. Download a template, fill in one row for each item, then upload the file. Use it when a job covers hundreds or thousands of items. After you select a source system, choose how to map on Map Data Settings:- Upload .XLSX file: Map directories in a spreadsheet
- Map Data manually: Map each item in Box Shuttle
Before you begin
Confirm the following before you start:- Your source system is set up in Box Shuttle. See Source system configuration.
- The Box users you plan to migrate content into have accepted their invitations. You cannot transfer data to a Box account of a user who did not accept the invitation.
Download the template
Each source system needs different information to identify a location, so each has its own template. Always start from the template, so your columns match what Box Shuttle expects. On the Map Data Settings page, select Download formatted template. An XLSX file downloads to your machine.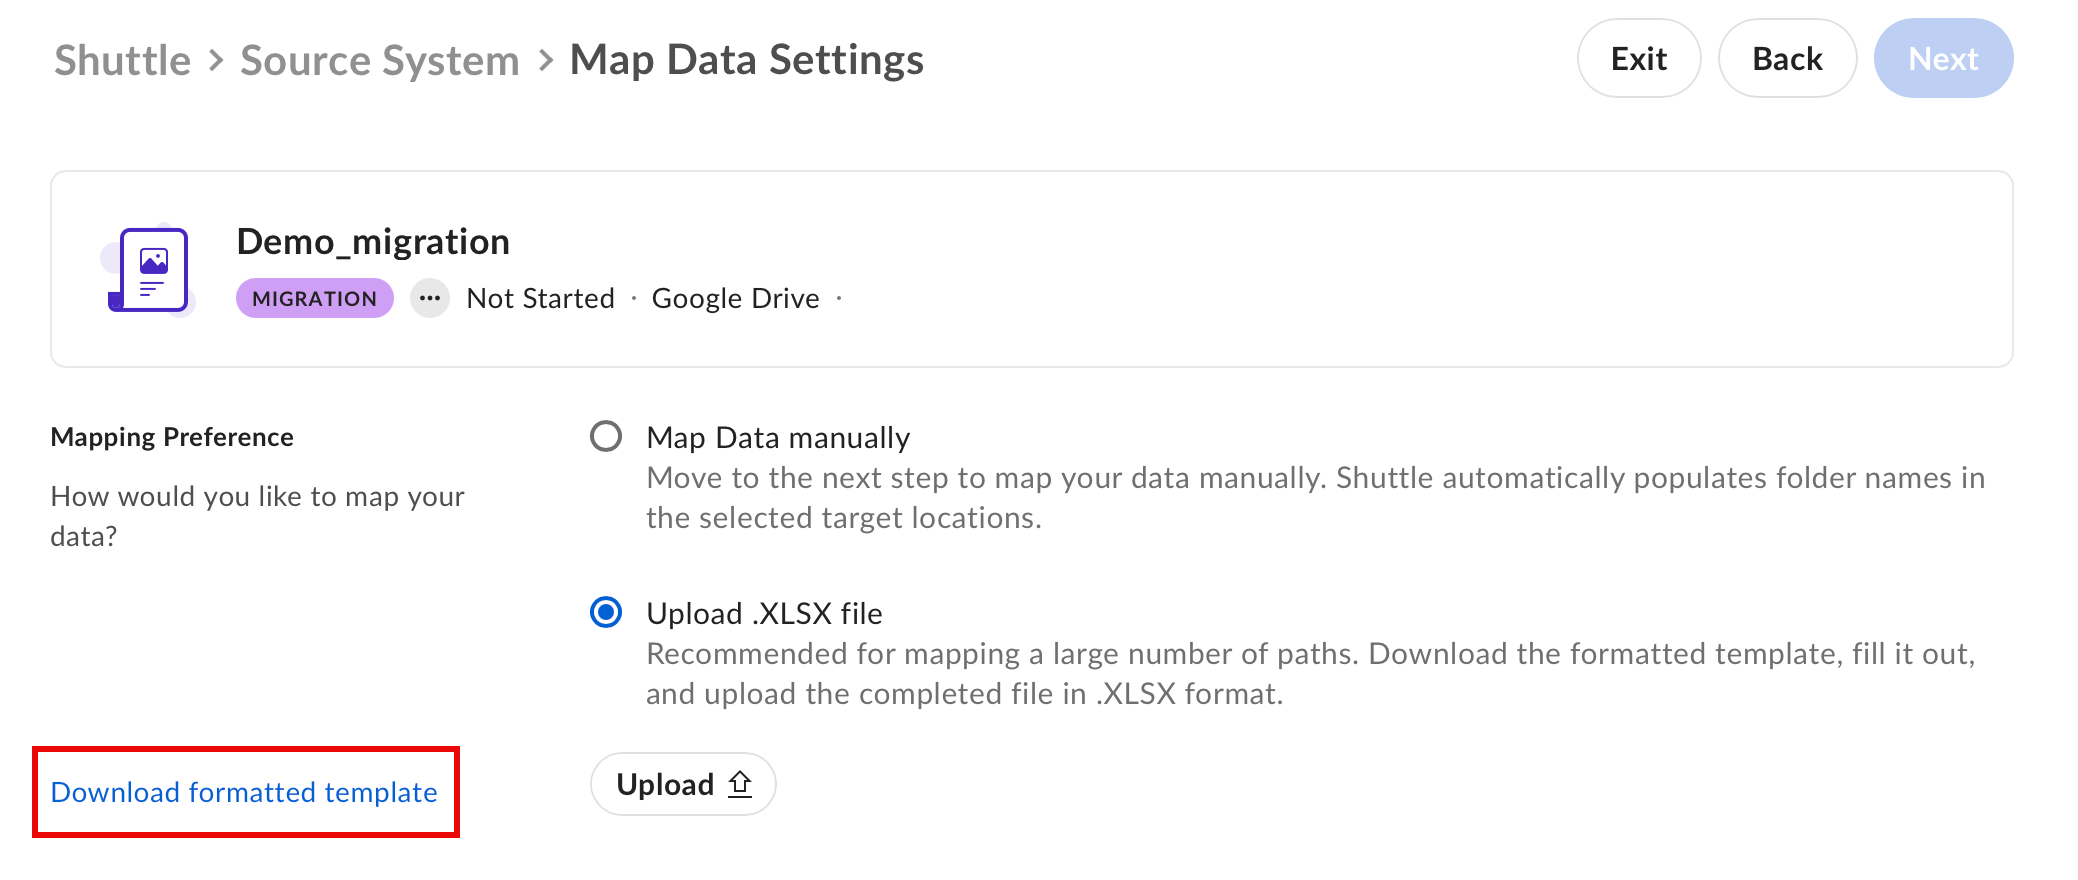
- Locations, for content in an individual source account, such as a Dropbox or OneDrive user
- Shared Locations, for content in a shared space, such as a Dropbox team folder, a SharePoint site, or a Windows drive
Fill out the spreadsheet
Each row maps one source location to one Box destination. Column names vary by source system, so check the header row of your template, but the pattern is always the same: identify the source location, then identify the Box target. Complete each sheet your template contains.Locations
Enter the source account and the path you want to migrate, then the Box account and the path where that content lands. A Dropbox template uses Source Account Email, Source Path, Target Account Email, and Target Path.Shared Locations
Identify the shared space instead of a source account, then enter the Box account and path as you would on Locations. For Dropbox, use the team folder and a path within it as the source.Skipping a path
To leave a path out of the migration, identify it as you would in any other row, then entery in the Skip Path column. Box Shuttle skips that path even when it migrates the parent folder.
Upload the spreadsheet
On the Map Data Settings page, select Upload .XLSX file, then select Upload and choose your completed file. Box Shuttle checks the file and reports the result next to the file name. When every row is valid, Box Shuttle marks the file Scanned successfully and makes Next available. Select Next to continue. Because your spreadsheet supplies the mappings, Box Shuttle skips the Map Data page.Correct upload errors
The check fails in one of two ways. If Box Shuttle cannot read the file, it reports that the uploaded file is not a spreadsheet. Save your work in XLSX format, then upload it again. If Box Shuttle reads the file but finds rows it cannot use, such as a row with a required column left empty, it asks you to download the file and address the discrepancies. That download is a copy of your spreadsheet with error messages added, showing which rows need attention and why. To correct the errors:- Select Download, then review each row Box Shuttle marked.
- Fix those rows in either the downloaded copy or your original spreadsheet.
- Upload the corrected file.
Map users and groups
When you migrate data with permissions, the settings page before Map Users and Groups offers the same choice, this time for collaborators. Select Download formatted template to get a spreadsheet with two sheets, one for users and one for groups. Box Shuttle prefills the source column on each sheet with the users and groups it found when it scanned your source system. Every row needs one of the following, or Box Shuttle treats it as invalid:- A target: the matching Box user name on the users sheet, or the matching Box group name on the groups sheet
- A
yin the skip column, for a source user or group with no Box counterpart