

Adding your files
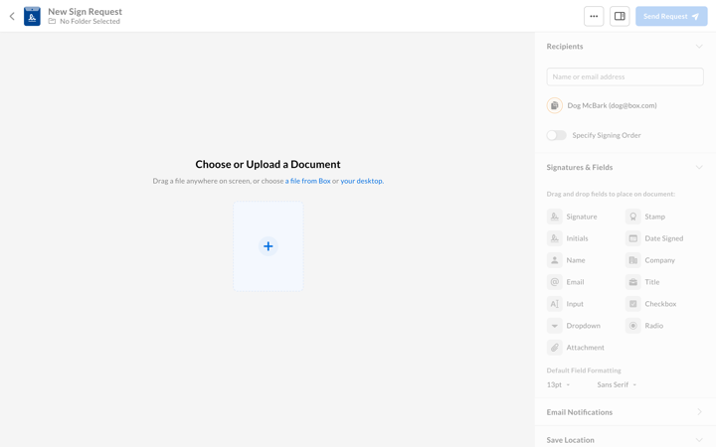
- Open Box Sign from your Box account home window, Box Files window or preview mode (for more information on accessing Box Sign, see Basic outline of sending a signature request).
- In the top-right corner, select New Request.
- Select which file you want to send for signature by choosing a file from Box or your desktop.
- Define who will receive the request for signature (for more information, see Adding and modifying a recipient).
- Choose the desired location under Where should the request be saved?
- Select Next.
- Add more files
- Rearrange the files by dragging and dropping using the preview panel on the left-hand side
- Replace and rename the base file
- Replace, rename, or delete any additional files added to the base file
- Specify the signing order (if there are multiple recipients)
- Configure email notification settings, desired file name, and expiration date
- Manage the recipients (for more information, see Adding and modifying a recipient)
- Add signatures and fields to your files (for more information, see Add action fields to a request)
Adding more files
To add more files to your request:- Select the grey + button in the left-hand pane and select:
- Choose from Box or
- Upload file
- Drag and drop the file into the main preview area or the file thumbnail bar on the left. A blue upload bar will appear at the bottom of the screen confirming the status of the file upload
Each file in the request has its own header, where the file name and number of pages are displayed. You can rename, delete, and replace each file by selecting the desired action from the ellipsis within the header bar. All changes will be visible to the sender, but not the signer.