Business Plus and Enterprise plans allow you to assign specific Co-Admin permissions on a per-user basis. Standard Business plans can only designate users as Co-Admins without granular permission selection.
- To grant Co-Admin privileges, the user’s account must use an email address on a domain that has been verified by your enterprise.
- If you need to grant Co-Admin access to a user whose domain cannot be verified, contact our Product Support team for assistance.
To grant a user Co-Admin permissions:
- Go to Admin Console > Users & Groups.
- Click the Managed Users tab.
- Click the name of a managed user with a Role of Member.
- Hover over the Role and Access Permissions section and click Edit ().
- In the Role drop-down list, select Co-Admin.
-
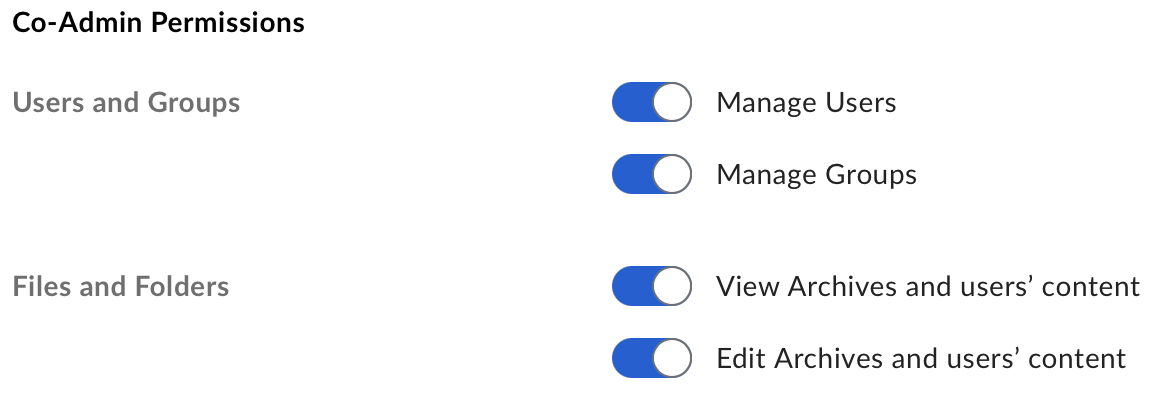
Select which Co-Admin permissions you want the user to have. For example:
To determine if your admin needs other permissions, review the complete Co-Admin Permissions list.
- Click Save.
A user cannot be both a Co-Admin and a Group Admin. When you make a user a Co-Admin, they become just members of any group that they are in where they were group admin.
To modify Co-Admin permissions:
- Go to Admin Console > Users & Groups.
- Click the Managed Users tab.
- Click the name of a managed user with a Role of Co-Admin.
- Hover over the Role and Access Permissions section and click Edit ().
- Select which permissions you want the Co-Admin to have and clear the permissions you do not want the Co-Admin to have. See Co-Admin Permissions for details about each permission.
- Click Save.
As a Co-Admin, you only have access to folders you own or collaborate on, and you might not see all of the managed/external user folders under Folder Collaborations in the Admin Console. Contact your admin for more information.