Box Forms is available only for Enterprise Advanced accounts. Customers must agree to the Box Forms Addendum in order to use Box Forms.
Building a Form
Get started by going to the Relay section and then the Forms tab. From here, click the New + button to begin creating a form.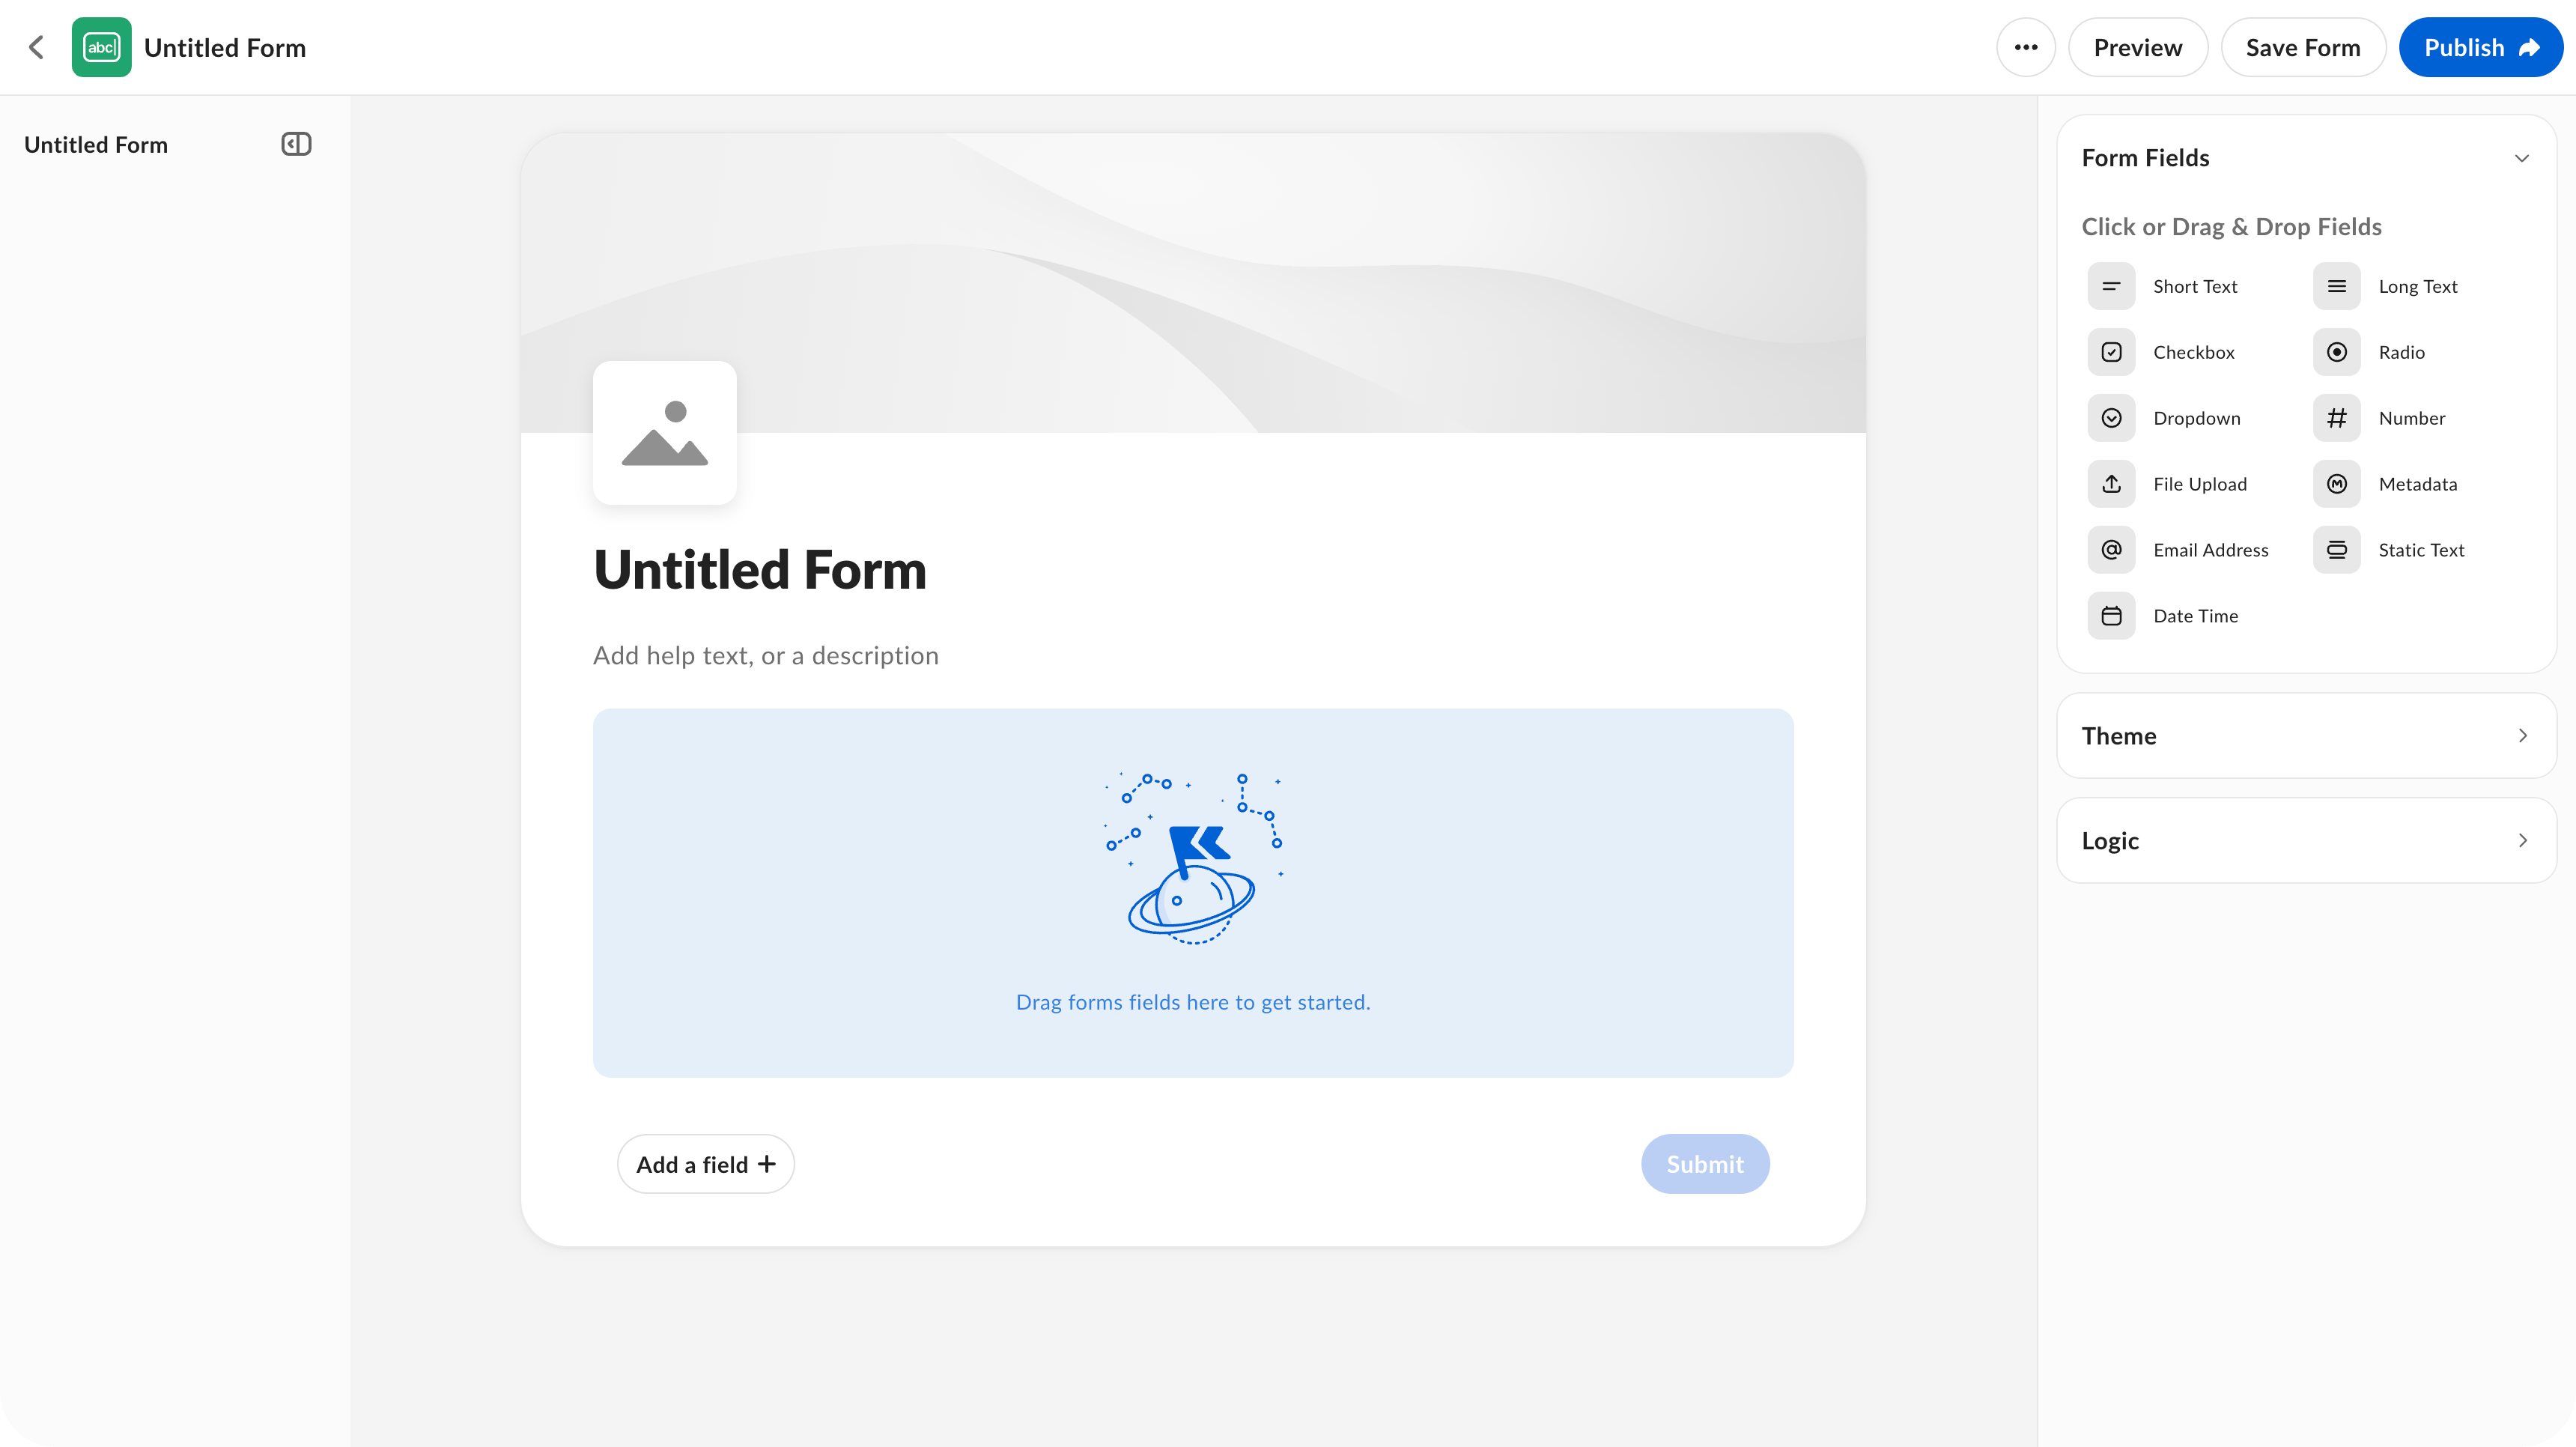
- Short Text
- Long Text
- Checkbox
- Radio
- Dropdown
- Number
- File Upload
- Email Address
- Metadata
- Static Text
- Date and Time
- Select a theme color.
- Add a header logo.
Box Forms is available only for Enterprise Advanced accounts. Customers must agree to the Box Forms Addendum in order to use Box Forms.
Adding Form Logic
Logic within forms can adapt based on user inputs, making them more relevant and easier to complete. You can set conditions to show or hide fields and add specific logic for further customization. To add custom logic: For the If condition, configure the logic that determines the event needed to trigger the conditions. Select to specify if All Conditions or Any Conditions apply: For the applicable field, select an condition operator:- Equals
- Does Not Equal
- Contains
- Does not Contain
- Begins With
- Ends With
- Is Empty
- Is Not Empty
- Show/Hide Fields
This outcome can be used to show/hide submitters relevant form fields as they complete the form. - Enable/Disable Fields
This outcome can disable fields to make them read-only while keeping them visible.
- Show/Hide the field.
- Enable/Disable the field.
Previewing a Form
Once a form is completed, you can click Preview to review the form prior to sharing it. From the Preview tab, you can test out the fields and conditions to ensure all work appropriately. Submissions in preview are not included in the form submissions page.Publishing a Form
After reviewing the form, you can share it to gather submissions. (Optional) Click Settings and select if you want to require form submitters to log in to Box:- To allow only logged in Box users to create submissions, toggle on Require uploaders to log in to Box. If your Admin has this setting enabled, then form submitters will have to log in to Box by default.
- To allow anonymous form submissions, toggle off Require uploaders to log in to Box.
- Select Set a link expiration date.
- Select a date.
- Click Save.
Embedded Links
To create an embed widget from your form- Click Copy. The toggle Link is enabled needs to be set to on to share the link.
- Navigate to the form.
- Click the ellipsis (…) on the specific form.
- Select Share.
- To the right of the link, click the code box.