> ## Documentation Index
> Fetch the complete documentation index at: https://docs.box.com/llms.txt
> Use this file to discover all available pages before exploring further.
# Enabling Custom Branding
If you're an admin, you can enable custom branding in Box Sign for your enterprise to deliver a customized signing experience for signers and increase your brand awareness. This Box Sign specific feature allows you to upload a company logo, set custom company color, and email footer text.
**Note:**
Custom branding in Box Sign is available to all customers on Business plans and higher.
### To enable custom branding for your enterprise:
1. In the Admin Console, in the left sidebar click **Enterprise Settings**.
2. In the top bar, click **Box Sign**.
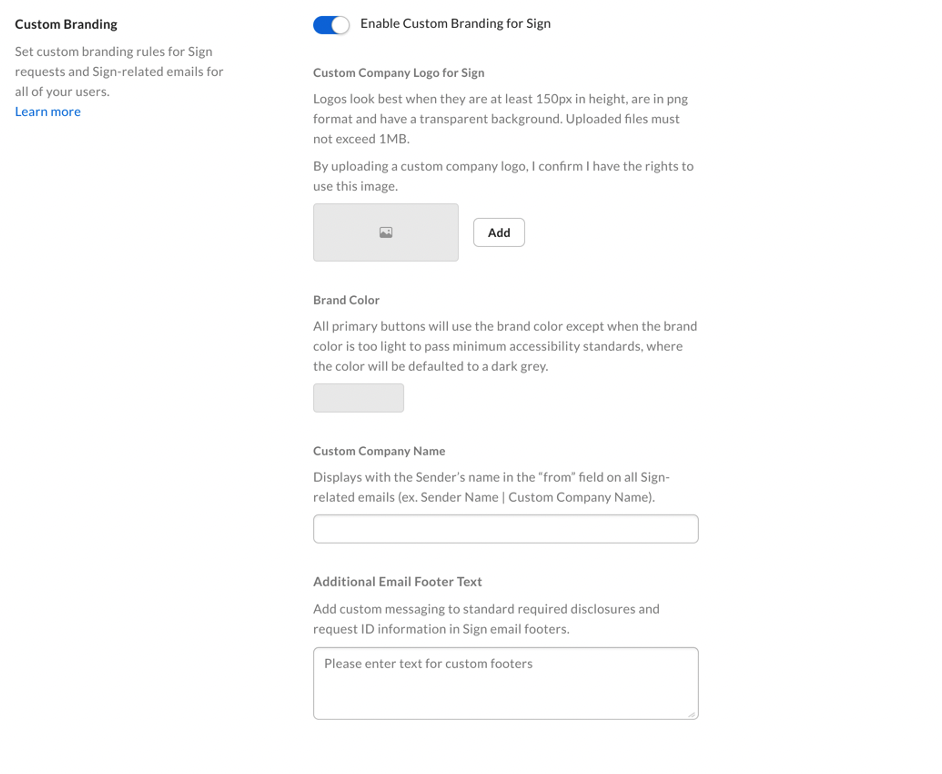
3. Scroll down to **Custom Branding**.
4. Toggle **Enable Custom Branding** **for Sign** to the desired value.
5. Click **Add** under **Custom Company Logo for Sign** and upload the logo.
6. Choose the **Brand Color** for primary buttons.
7. Enter the company name in the **Custom Company Name** field.
8. Add a custom message to appear in your email's footer under **Additional Email Footer Text**.
9. Click **Save**.
**Note:**
Custom logo and colors are visible for signers on Box Sign landing pages.
Signers can see the uploaded logo and brand colors in the signature request emails. Your custom company name will appear as the sender and the email footer text is visible in all notification emails.
 ### To change custom branding:
1. In the Admin Console, in the left sidebar click **Enterprise Settings**.
2. In the top bar, click **Box Sign**.
3. Scroll down to **Custom Branding**.
4. Click **Change** next to your company logo.
5. Upload a new logo.
6. Click **Save** to change your changes.
### To remove custom branding:
1. In the Admin Console, in the left sidebar click **Enterprise Settings**.
2. In the top bar, click **Box Sign**.
3. Scroll down to **Custom Branding**.
4. Click **Clear** next to your company logo.
5. Click **Save** to change your changes.
### To change custom branding:
1. In the Admin Console, in the left sidebar click **Enterprise Settings**.
2. In the top bar, click **Box Sign**.
3. Scroll down to **Custom Branding**.
4. Click **Change** next to your company logo.
5. Upload a new logo.
6. Click **Save** to change your changes.
### To remove custom branding:
1. In the Admin Console, in the left sidebar click **Enterprise Settings**.
2. In the top bar, click **Box Sign**.
3. Scroll down to **Custom Branding**.
4. Click **Clear** next to your company logo.
5. Click **Save** to change your changes.