> ## Documentation Index
> Fetch the complete documentation index at: https://docs.box.com/llms.txt
> Use this file to discover all available pages before exploring further.
# Branding Your File Request
export const InlineImage = ({src, alt = "", height = "1em"}) => {
return  ;
};
Custom Branding for File Request is a feature that allows enterprises to apply a logo and brand color to their File Request webpages. Custom Branding is ideal for Box customers who request content from external entities and want to provide an on-brand and more recognizable experience for content submitters.
Admins can upload two logos and a default color in the Admin Console using the Account Branding functionality. These will show up as part of the available branding options for File Request creators in their enterprise.
* Default logos and colors will be available to select for any File Requests but can be overridden by the user
* For more information on Account Branding, here is our help article: [Customize Your Account's Branding](/en/box-fundamentals/for-admins/getting-started/customize-your-accounts-branding)
## Working with Custom Branding
Here’s how you would setup branding for your File Request:
1. Create a File Request on the folder as before (If you need a refresher use this article: [Using File Request to get Content from Anyone](/en/box-fundamentals/for-users/collaborating/sharing-content-using-box/using-file-request-to-get-content-from-anyone) )
2. Click **Edit** to apply custom branding.
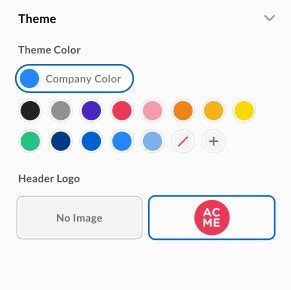
3. Select **Theme** to open **Header Logo** and **Theme Color** section
* If your Box Admin has set a default logo and color for your enterprise, the logos will be visible. If not, the defaults will be ‘No Image’ and a no color icon .
## Adding a Header Logo
1. Click **+** to start.
2. Click **Add an Image** and select the logo you would like to upload.
3. Click **Upload**.
* Uploading a new logo does not make it a default for all your File Requests. You can still select different logos for different file requests
* Images look best at 80 pixels height, png format, and transparent background.
* Image files must not exceed 1 mb.
4. Next, let's select a color. **Theme Color** is where you will set the background color for the file request.
* You can select any of the predefined colors or use the + icon to select a different color. You can use the HEX code to select a color.
;
};
Custom Branding for File Request is a feature that allows enterprises to apply a logo and brand color to their File Request webpages. Custom Branding is ideal for Box customers who request content from external entities and want to provide an on-brand and more recognizable experience for content submitters.
Admins can upload two logos and a default color in the Admin Console using the Account Branding functionality. These will show up as part of the available branding options for File Request creators in their enterprise.
* Default logos and colors will be available to select for any File Requests but can be overridden by the user
* For more information on Account Branding, here is our help article: [Customize Your Account's Branding](/en/box-fundamentals/for-admins/getting-started/customize-your-accounts-branding)
## Working with Custom Branding
Here’s how you would setup branding for your File Request:
1. Create a File Request on the folder as before (If you need a refresher use this article: [Using File Request to get Content from Anyone](/en/box-fundamentals/for-users/collaborating/sharing-content-using-box/using-file-request-to-get-content-from-anyone) )
2. Click **Edit** to apply custom branding.
3. Select **Theme** to open **Header Logo** and **Theme Color** section
* If your Box Admin has set a default logo and color for your enterprise, the logos will be visible. If not, the defaults will be ‘No Image’ and a no color icon .
## Adding a Header Logo
1. Click **+** to start.
2. Click **Add an Image** and select the logo you would like to upload.
3. Click **Upload**.
* Uploading a new logo does not make it a default for all your File Requests. You can still select different logos for different file requests
* Images look best at 80 pixels height, png format, and transparent background.
* Image files must not exceed 1 mb.
4. Next, let's select a color. **Theme Color** is where you will set the background color for the file request.
* You can select any of the predefined colors or use the + icon to select a different color. You can use the HEX code to select a color.
 * * You can add any number of custom colors to the palette. However, upon saving the form, all custom colors are deleted except the one you selected.
* After selecting your logo and color, click Preview to review your updates.
5. Click Save or Share to save your changes.
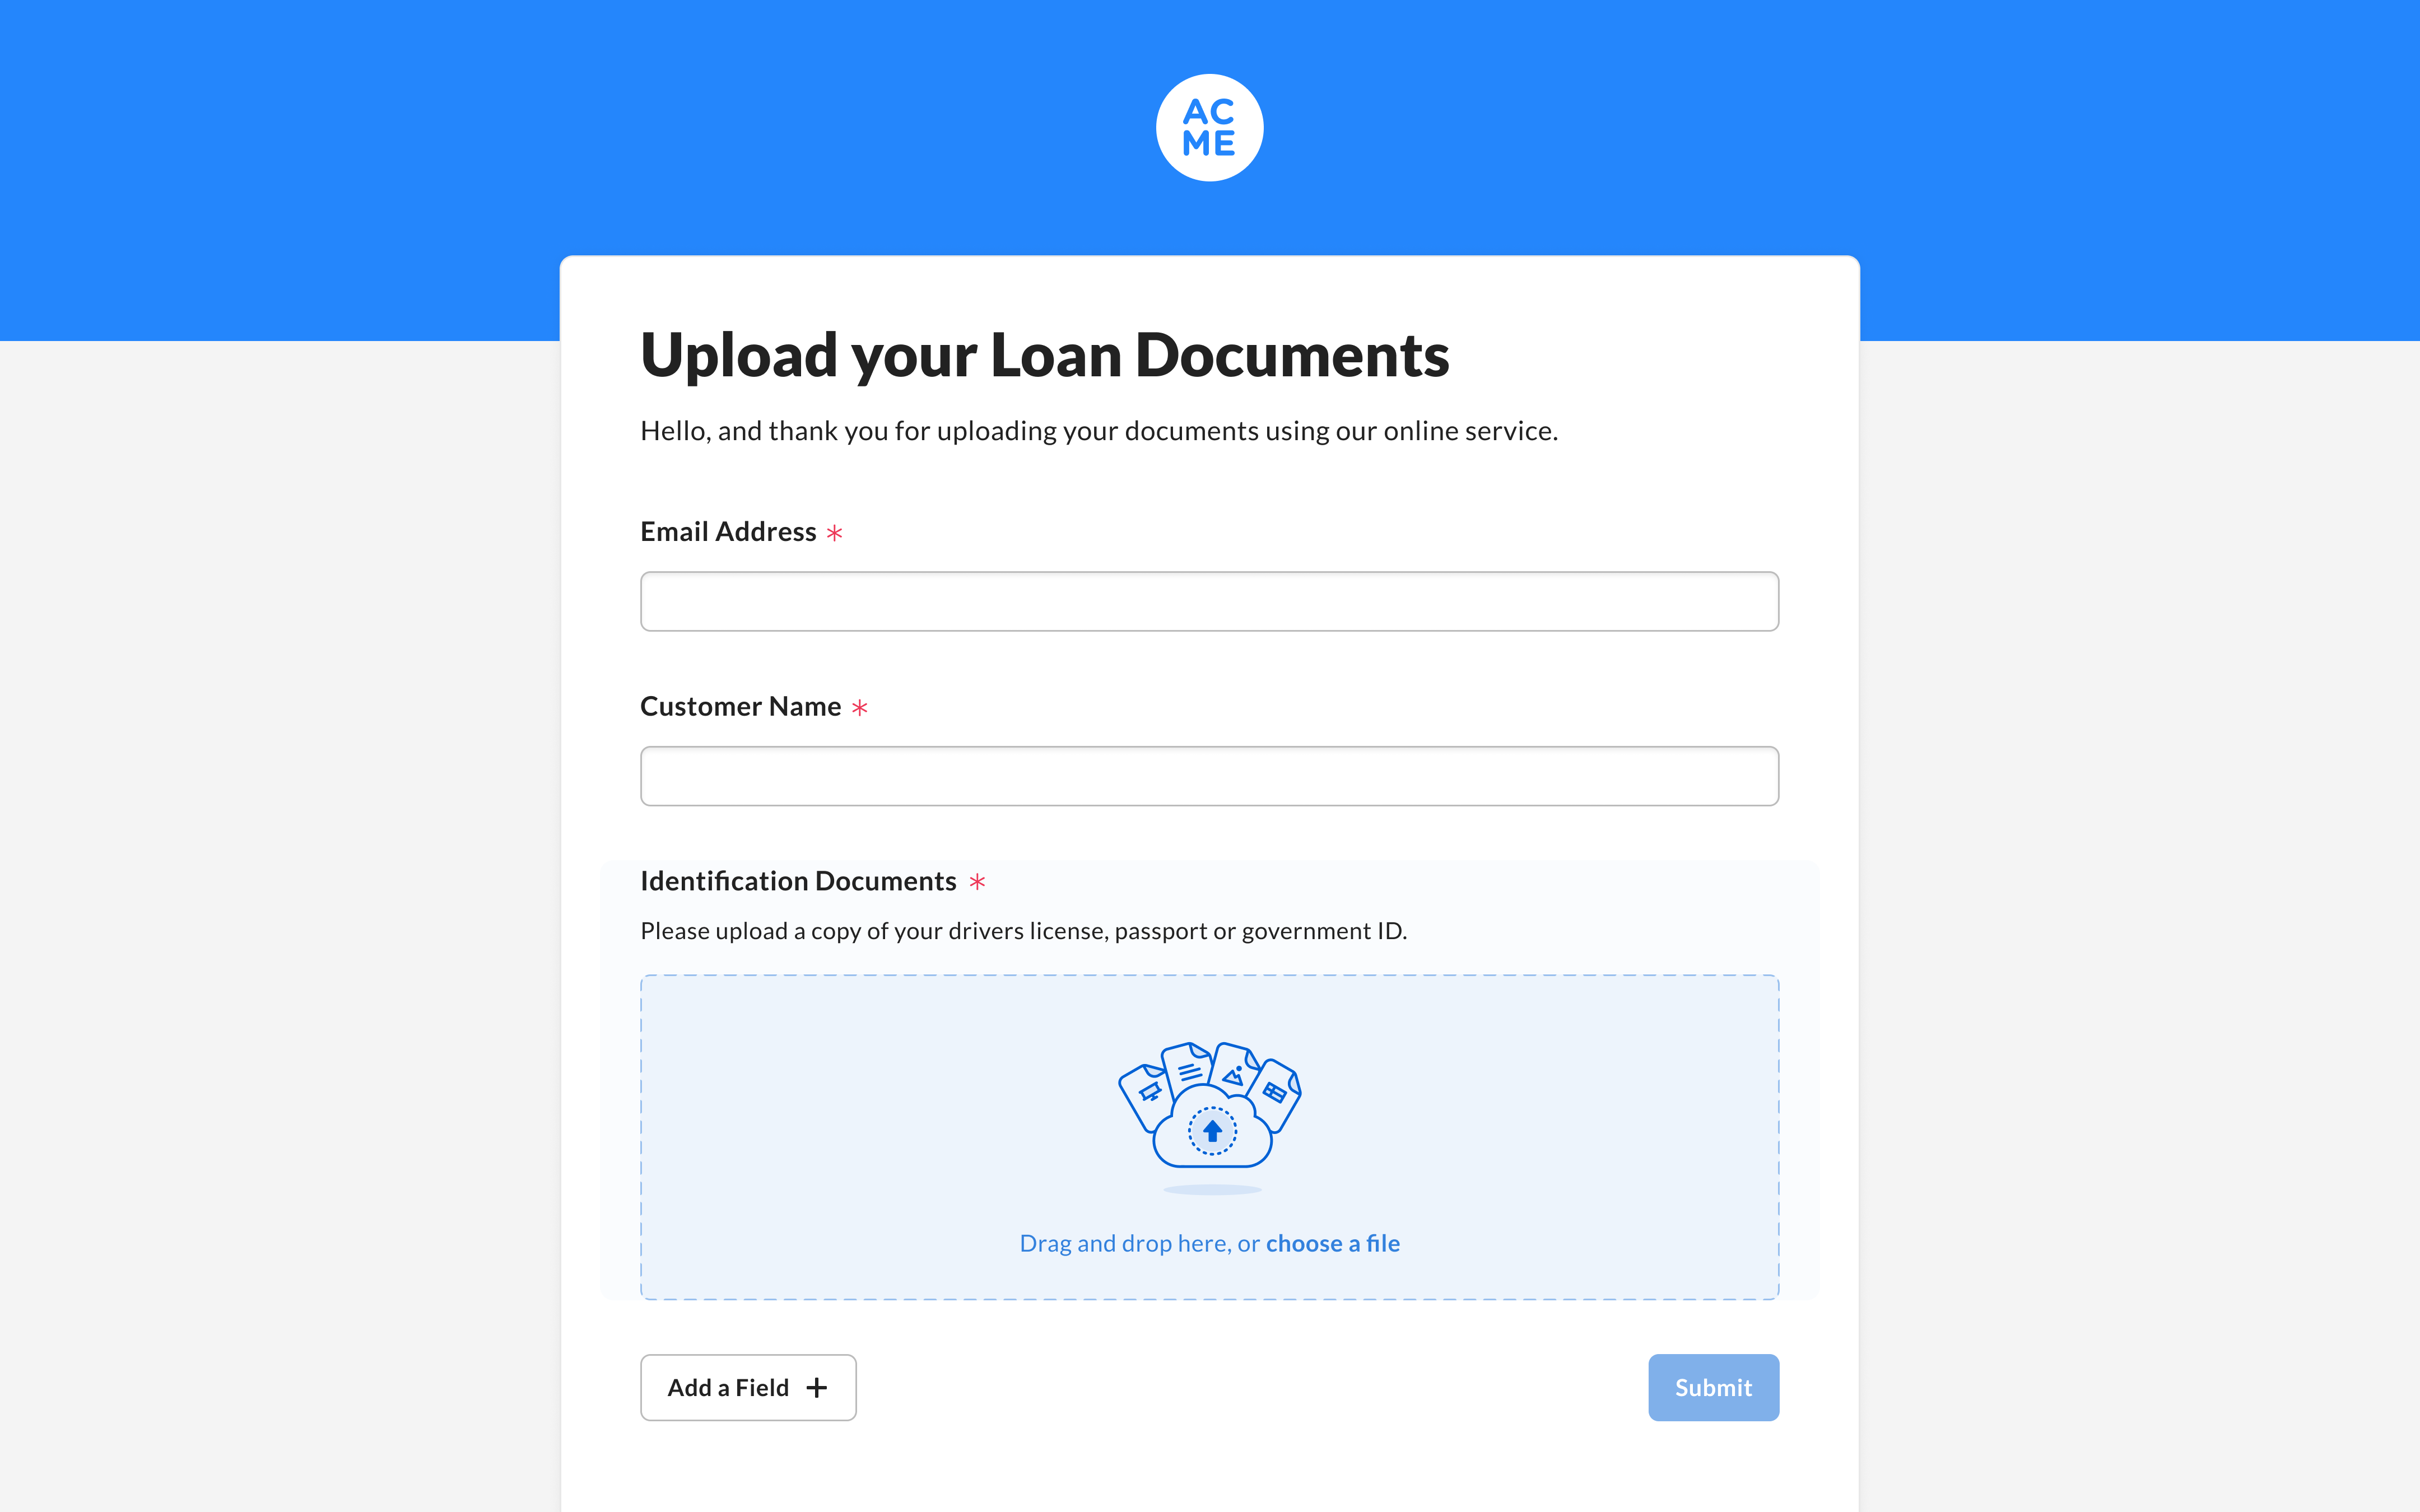
Here’s an example of a custom-branded File Request page from a File Request creator’s point of view
* * You can add any number of custom colors to the palette. However, upon saving the form, all custom colors are deleted except the one you selected.
* After selecting your logo and color, click Preview to review your updates.
5. Click Save or Share to save your changes.
Here’s an example of a custom-branded File Request page from a File Request creator’s point of view